VIDEO: YOGA RETREAT 2015
Impressions of our March Yoga Retreat in Koh Samui, Thailand.

Impressions of our March Yoga Retreat in Koh Samui, Thailand.
Face a time crunch? Want to feel fit but don’t know how? Welcome to the world of Surya Namaskar/ Sun Salutation. I have provided a few different variations of Sun Salution in the video here. Check it out.
The best part about Sun Salutation is that it works well for those people who often not being able to do yoga and because of a time crunch. Doing at least 12 sets of Sun Salutation, preferably at sunrise, at a fast pace provide a good cardiovascular workout. If done at a slow pace, these postures help tone the muscles and can be relaxing and meditative. Moreover, it allows you to enjoy the stretch and feel the body getting flexible for prepare the body to warm up more during the intense yoga posture sequence.
Do you know that one round of Surya Namaskar burns upto 13.90 calories for an average weighing person, maybe you can now set the target for yourself. Slowly you can increase the number of rounds of surya namaskar.
Happy practicing!
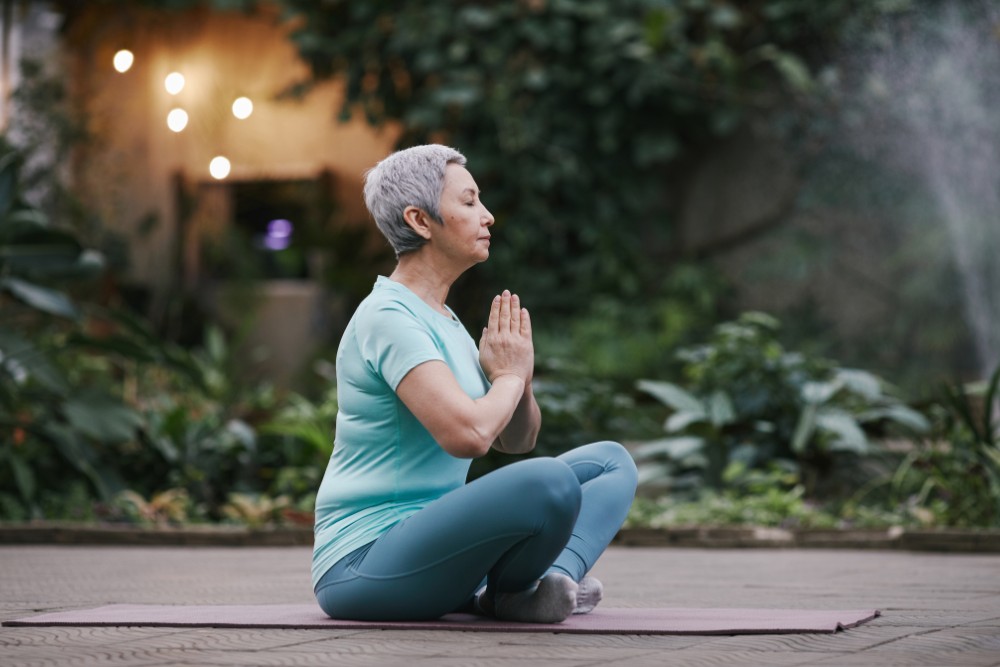
“Breathe space into the parts of your soul that need healing. Breathe space into what really hurts. Breathe space into the tight spots, into the pain. Breathe into the grief, the frustration, the anger, the sadness, the fear… Breathe space into all of the layers you carry with you, layers created from the simple experience of being alive. Alive, and so much so that it leaves you vulnerable in world that sometimes breaks you open. A world that can shatters your heart into a million tiny little pieces. A world that’s full of wonders, but that also wounds. Breathe space into this. The good and the bad. And when all else fails and you don’t know how to pick yourself off the floor and you don’t know how to puzzle all the pieces of your heart back together and you don’t know if there will be a better tomorrow… Just breathe. Just breathe. Know that life turns upside down and shakes us from the inside for a reason. Just breathe. You are not alone.”
Written by Rachel B.
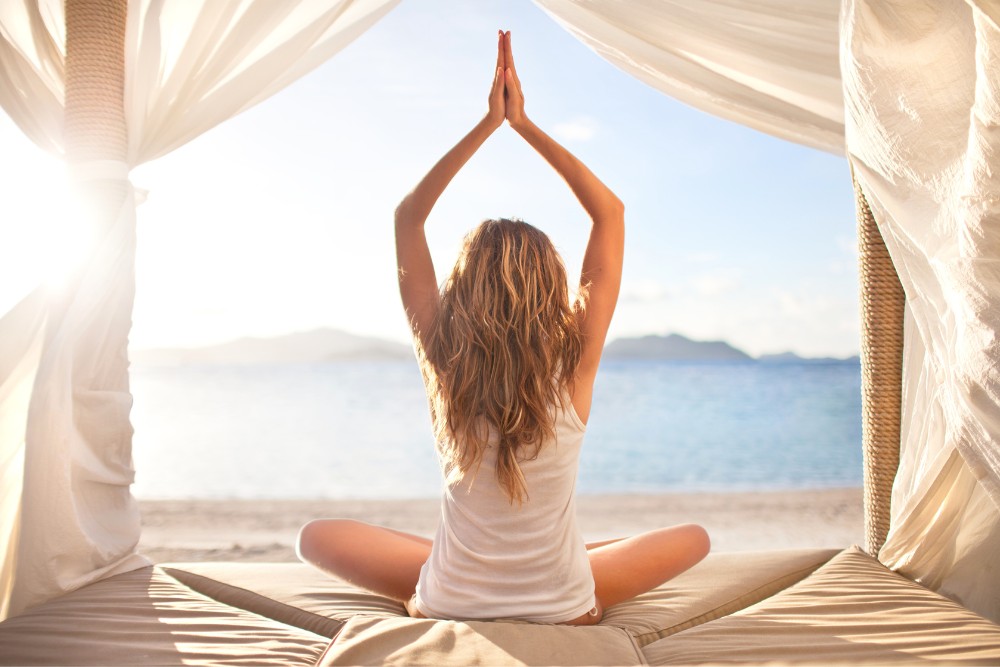
One of the most important ways yoga has changed my life is my confidence has increased.
We work a lot on the navel center, the core area or third chakra, which builds our will power, confidence, and resolve.
Since I’ve been practicing yoga I’ve done a lot of things I’d never considered doing before, like getting up in front of a room full of people and teaching yoga in English which it is not my native language. I truly enjoy doing it because I’m surrounded by all the awesome people.
What I like about yoga is that there is no end to it, I constantly learn different things in each practice. I’m also finding the little peace for myself no matter what is going on outside of the four corners of my mat just feel the simple wonder of my body as I move.
I would like to share yoga with others and help them by teaching yoga. They can still have a workout and still have the mental benefits of yoga. I will keep on learning and growing as a teacher as well as a practitioner.
Namaste,
Carmen
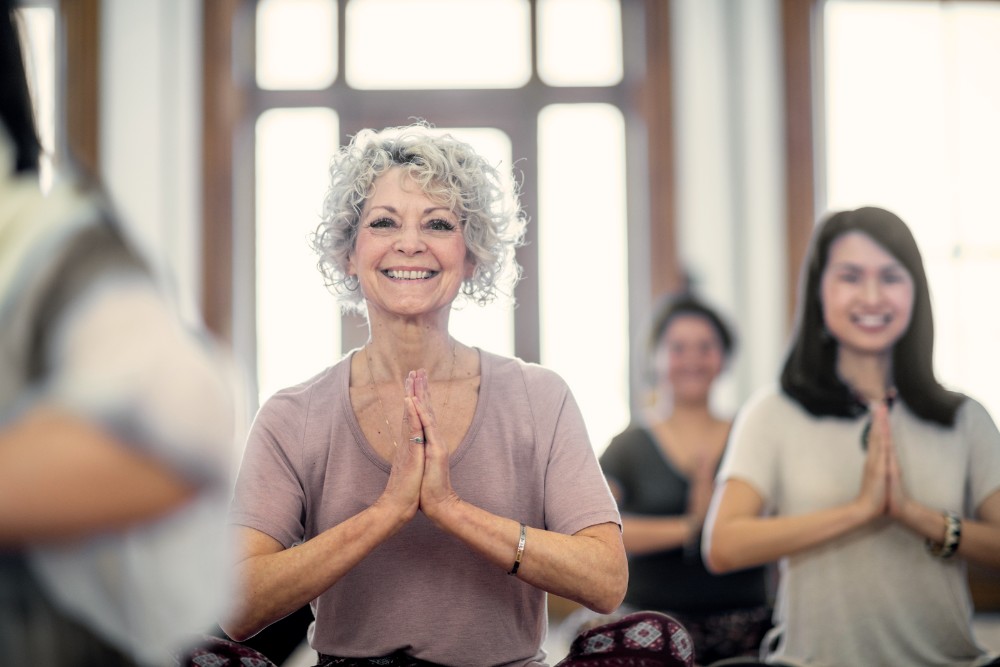
It’s the pause that brings realignment. It’s the pause that brings reflection. It’s the pause that brings refocus.
Life is like a wheel, always spinning. There’s always work coming in and piling up, making enough and more money, people and relationships to take care of, goals and dreams to catch, and never endless deadlines to be met.
And if we are not careful enough of our life, it can be crazy and get extremely busy, but we end up achieving very little. Have you ever had a moment where you seemed to be very busy, but surprisingly got very little done at the end of the day? Therefore, it’s important to not only calm down, but to take a pit stop to pause and reflect before continuing with the journey ahead.
Meanwhile, you can take the opportunity to relax and unwind, to evaluate what you have accomplished, to review your mistakes from the past and to examine your future plans. Your body and mind will thank you, you will feel more refreshed and recharged to take on the world again!
It is a must to escape the rat race every now and then and jump off the hamster wheel. To step outside, get some air, and remind yourself who you are and where you want to go in life.
Namaste,
Carmen Lee-Schneider
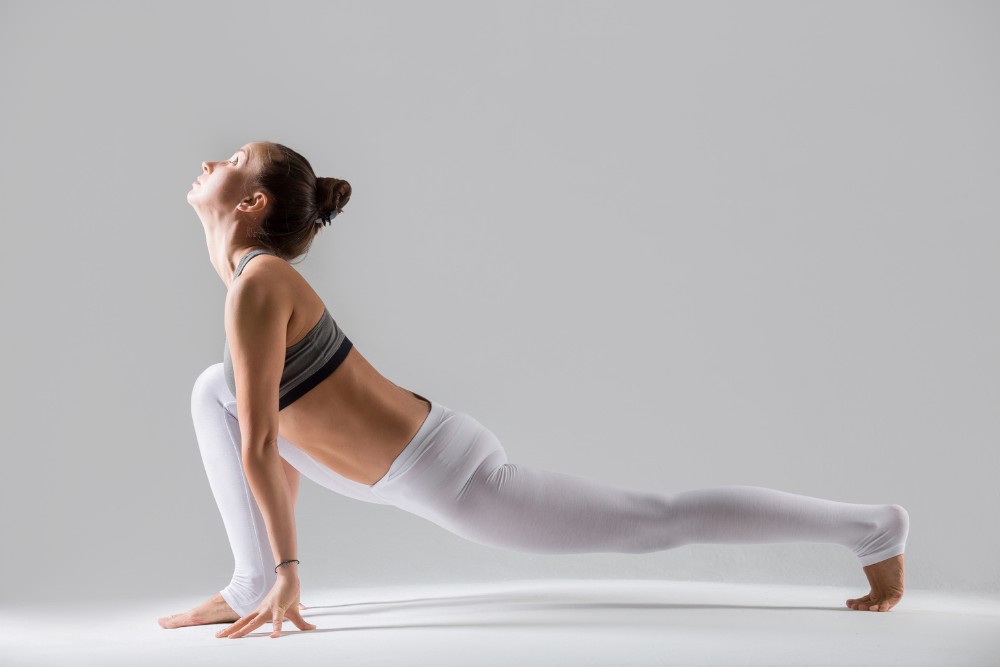
If you’ve ever taken a class with me, you know I love lizard pose (Utthan Pristhasana). I almost always practice it in my own practice. It makes my hips feel so good as lizard pose is an intense hip opener. Try to practice steady and full breathing and being present in the body, allowing the pose to slowly do its work.
12 steps guide you to the advanced lizard pose. Remember, you do not need to do all of the variations listed; choose the stage of the pose that is best suited to your practice and you feel comfortable in.
Lizard Pose is a versatile pose with many benefits.
Namaste,
Carmen
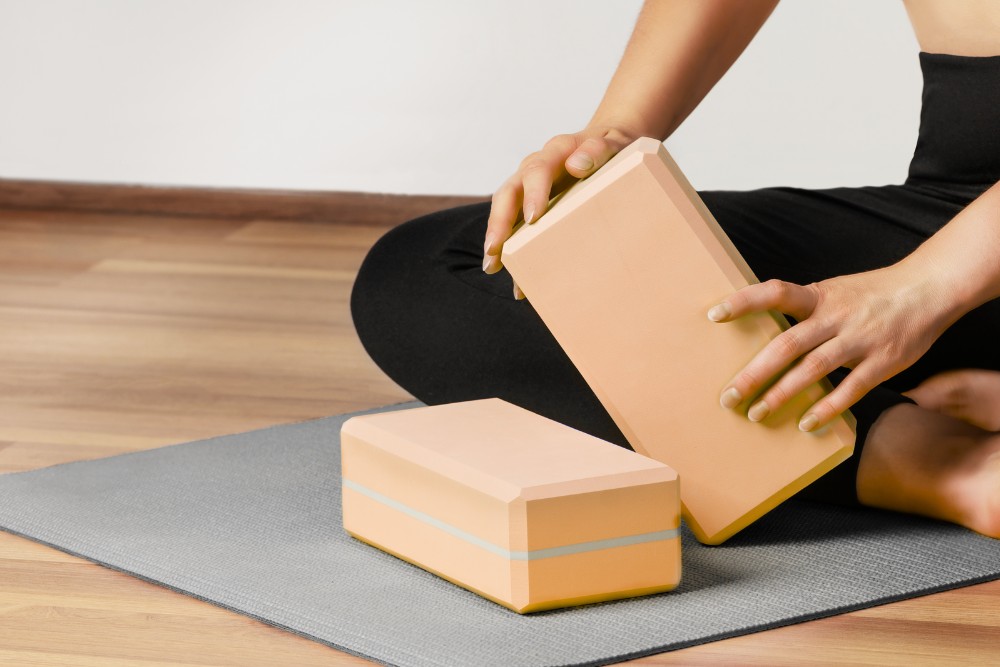
Yoga poses helps to keep knees healthy and strong. Balancing the hips; strengthening and stretching the muscles in the legs and the feet; and improving core strength all have a positive effect on the health of the knees and to ease the pressure on the knees. Injuries and knee problems are often due to mechanical issues with the kneecap, which then impacts the ligaments and the joints.
Make sure you do the postures correctly, things you have to remember:
– Contract the quadriceps, especially the inner quads. Ensure that the back of the knees are soft.
– Press evenly into the feet, as in equal standing.
– Hug your thighs as when you’re holding a block between them.
– Keep a slight bend in your knees to avoid locking out the joints.
– Keep your lower back long and flat.
– Keep your spine neutral and long, chest lifted and neck long.
– Hold each pose for 3-5 breaths.
– Please start with right side and repeat the left side when come to poses 9, 10, 11, 12 and 18.
– Use the wall and a block for poses 1(Sukhasana), 8(Tadasanaa), 9(Virabhadrasana I),10(Virabhadrasana II),11(Trikonasana), 12(Revolved Trikonasana) and 15(Utkatasana).
– Rest in Savasana with blocks under knees for 2-3mins.
Namaste,
Carmen Lee-Schneider
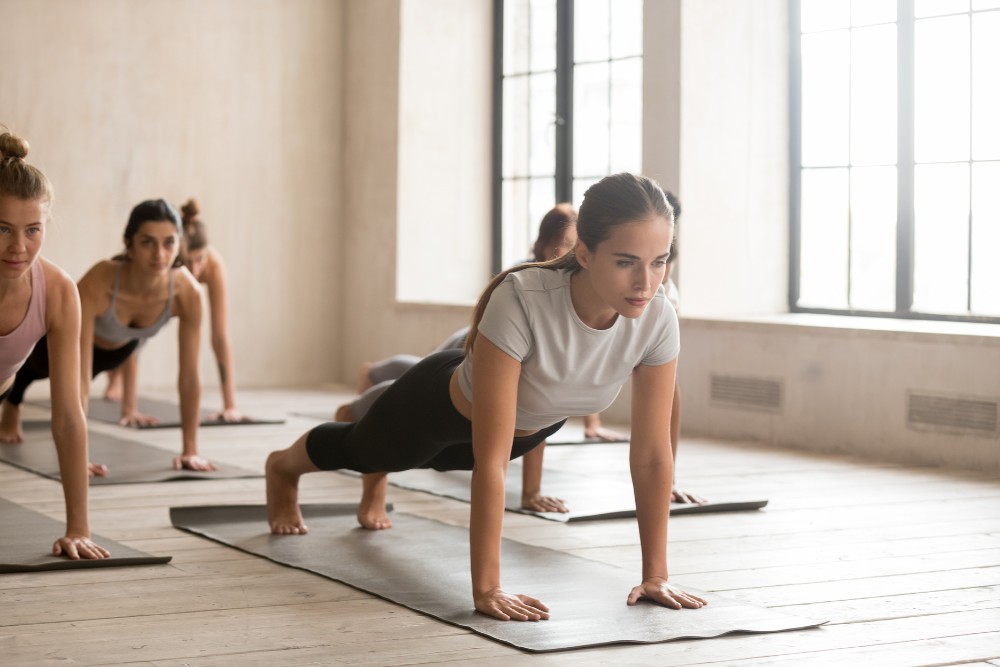
5 reasons we should do yoga planks every day.
1) Get major core definition.
2) Reduce the risk of injury.
3) Workout anywhere.
4) Improve posture.
5) Improve balance.
How to do a perfect yoga plank pose?
From downward facing dog, bring your hips forward until your wrists direct under your shoulders and your toes tucked direct under your heels. Forming a straight line from the crown of your head to you heels.
Spread your fingers and press the firmly down into your palms.
Check out my plank variations here and forearms variations too. When you are in each pose, make sure to engage quads and glutes the entire time. Hold each different planks for at least 30 seconds, up to one minute.
Modification: Place both knees on the floor with hip width.
Namaste,
Carmen Lee-Schneider
Hello I’m Carmen,
I’m a yoga teacher from Australia.
I started doing Yoga to connect to myself and switch off my mind, to listen to my body again. My first yoga lesson, nearly the whole class I didn’t know what to do actually. But I was really excited, because I know this is what I wanted to do, for myself, and I really wanted to start a new thing.
I didn’t expect I will teach. At the beginning I just wanted to do Yoga, that’s it. But the more I did, the more I realised how little I know. So, I thought after finishing the teacher training in Sydney I just want to learn something for myself. Yoga helped me to find more peace, more balance in my life and to find myself again.
Everyone is different. You don’t need to be like me. You don’t need to be anyone. When you’re practicing yoga focus on yourself.
When I’m teaching in the class it is a wonderful feeling to see how the students move their bodies. And the most important thing is, at the end of my class when I see how relaxed they are. This is the most beautiful feeling when I’m teaching.
It’s funny, how on my yoga journey things come, like they’re meant to be. And I will try my best and teach what I love to everyone. I really hope you can try to come to my class. I understand yoga is not for everyone. But somehow, if you really want it, then you can find your own yoga journey. And you’ll always do something for yourself.
Namaste,
Carmen
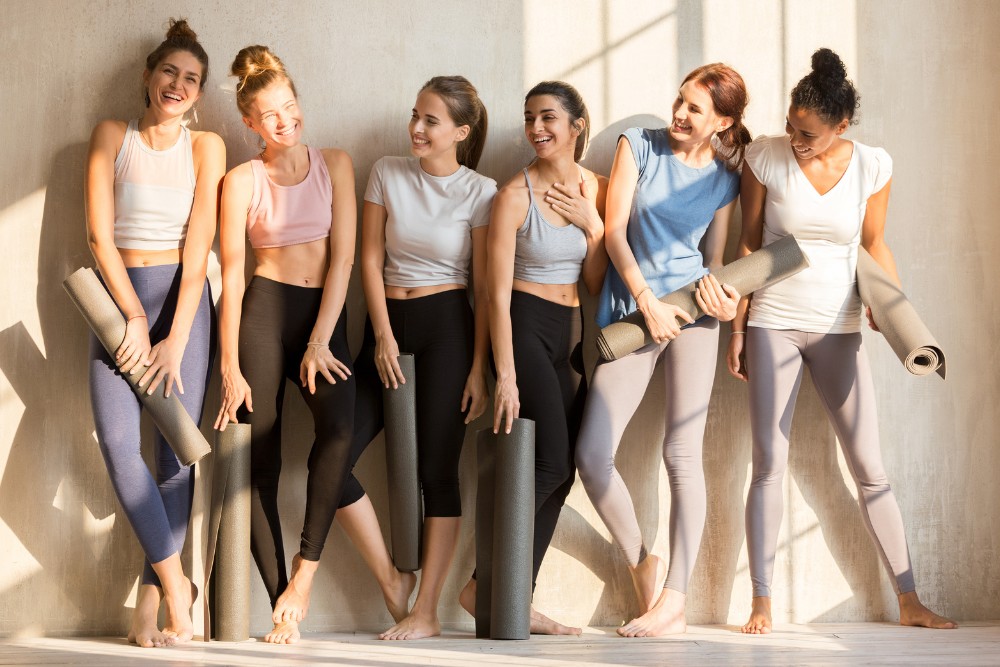
When you want to deepen your yoga practice, it is very important to take care of your own body and try to avoid common yoga injuries happen.
According to yoga experts, injuries can happen any time, in any sport, or even walking down the sidewalk. Most yoga injuries develop gradually over years of consistent over-stretching and misalignment . As with any physical activity, the safest approach to yoga is to learn how to practice the asanas correctly and stay in tune with your body to prevent overdoing it.
1) Wrists: Placing all of your body’s weight in the wrists when the hands are on the mat can lead to muscle and joint injuries. In any position where weight is placed on the hands (such as downward facing dog), putting your body’s weight through both palms by spreading your fingers wide and pressing firmly through the inner palms and fingertips especially big thumbs. In downward facing dog, push the hips back to decrease the angle of the wrists to the floor. In arm balances, such as Bakasana, look to see that the elbows are stacked directly over the wrists.
2) Elbows: Joint pain in the elbows can result from bending them out to the sides in poses like chaturanga(half plank). Most common mistake is lowering down with outward-pointing elbows which can stress the joint. When bending the elbows in a pose (particularly plank or chaturanga), keep the elbows tucked alongside the ribs as you bend them.If this is difficult, begin with the knees on the floor. Remember, you can always work up to the unmodified version through regular practice.
3) Shoulders: Beware the shrug. By raising the shoulders up toward the ears (like when moving into upward facing dog or cobra pose), yogis stop using the supporting muscles in the arms, shoulders, and neck. Shrugging also compresses the shoulders, which can cause muscle injuries. Be careful not to pull too hard on the shoulders in stretches, and always keep the shoulders held back and down away from the ears.
4) Ribs: Twists are awesome for releasing tension, but if done improperly they can overextend. When come to twisting, focus on lengthening upwards through the spine before twisting. Imagine that someone is lifting you up under your armpits very gently toward the ceiling. Twist to the point of feeling a stretch but not past it.
5) Lower back: Lower back pain is the most common yoga injury, and teachers speculate that it’s likely the result of rounding through the spine in poses like forward folds and downward facing dog. Rounding causes the spine to flex the opposite way that it’s supposed to, which can cause disc problems in addition to that achy feeling post-class.Before bending, imagine lengthening the spine up and away from the hips to avoid rounding. Still struggling to stay on the straight and narrow? Try bending the knees in poses like forward folds and downward facing dog, sometimes it could be caused by tight hamstrings. During seated forward folds, try bend knees and sitting on a blanket or block to take pressure off the lower back. Make sure to lengthen your spine and fold from your hips with flat lower back.
6) Hamstrings: Spend most days sitting down at the desk, in class, or in the transport? Many of us have tight hamstrings, so it’s easy to pull or over-stretch them in certain poses. Downward facing dog and lunges are best ways to stretch the hamstrings (just remember to go slowly and work at your own pace). If you have any kind of hamstring injury, try laying off poses that extend through the back of the body and legs until the injury heals.
7) Hips: It’s easy to over-extend the hips’ range of motion in splits, warrior poses and wide-legged forward folds, which might tear the muscles of the inner groin or inner thighs. Make sure that the toes are pointed forward in any pose where the hips are squared off in the same direction (like warrior I). Imagine there are headlights attached to the front of the hips and that you’re trying to keep the area straight ahead of you illuminated at all times.
8) Knees: A common pain is the cross-legged position and placing knees on the floor. Flexibility carries from the hips first; if the hips are tight in the pose, the knees will be the first place to feel pain or tension. For those regularly bothered by knee pain, avoid sitting in cross-legged position or knees down for long periods unless the hips are already very flexible. Placing a block or rolled-up blanket/towel under the knees can also help reduce strain. Any time the knee is bent in a standing pose (such as warriors I and II), look to see that there’s a vertical line from the bent knee to the heel, to make sure the body is bearing weight properly.
9) Neck: Head and shoulder stands can caused neck pain and injury. Repeatedly and incorrectly placing pressure on the neck in poses such as shoulder stand and headstand can compress the neck. It might be best to avoid full inversions if you are unsure, or attempt them only with close supervision. Practice inversions with clear instructions with step by step, using props that elevate the neck away from the floor. For those who already practice the pose without props, make sure the shoulder blades are drawn down and back so they’re safely supporting the body. Most importantly, stay focus and never move the head once you’re up in the pose, because it can destabilise the body, possibly causing a fall.
Proper alignment in poses is key, but it’s not the only factor in a safe yoga practice. To stay blissed out instead of stressed out over injury, here are some simple guidelines to follow:
Listen to your body. At all stages of yoga practice, stay mindful. Really listen to your body so you can be sensitive to any tightness or strain. Just because you did a particular pose one day, it doesn’t mean your body will be able to do it the next. In our yoga practice, we are building a relationship with our bodies the same way we build them with other people: by listening.
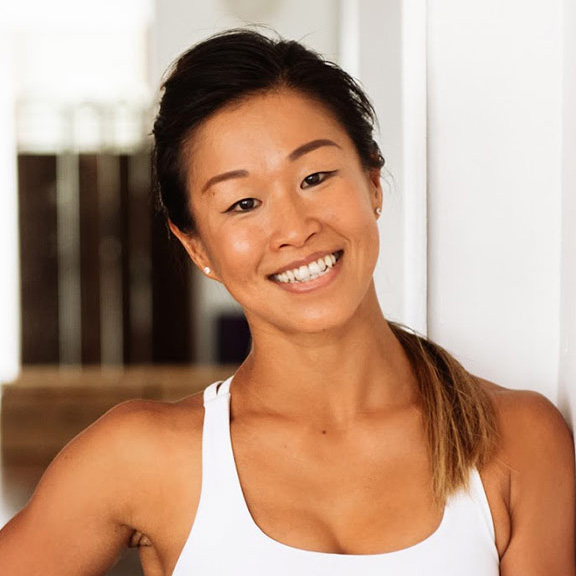
 Carmen Lee-Schneider